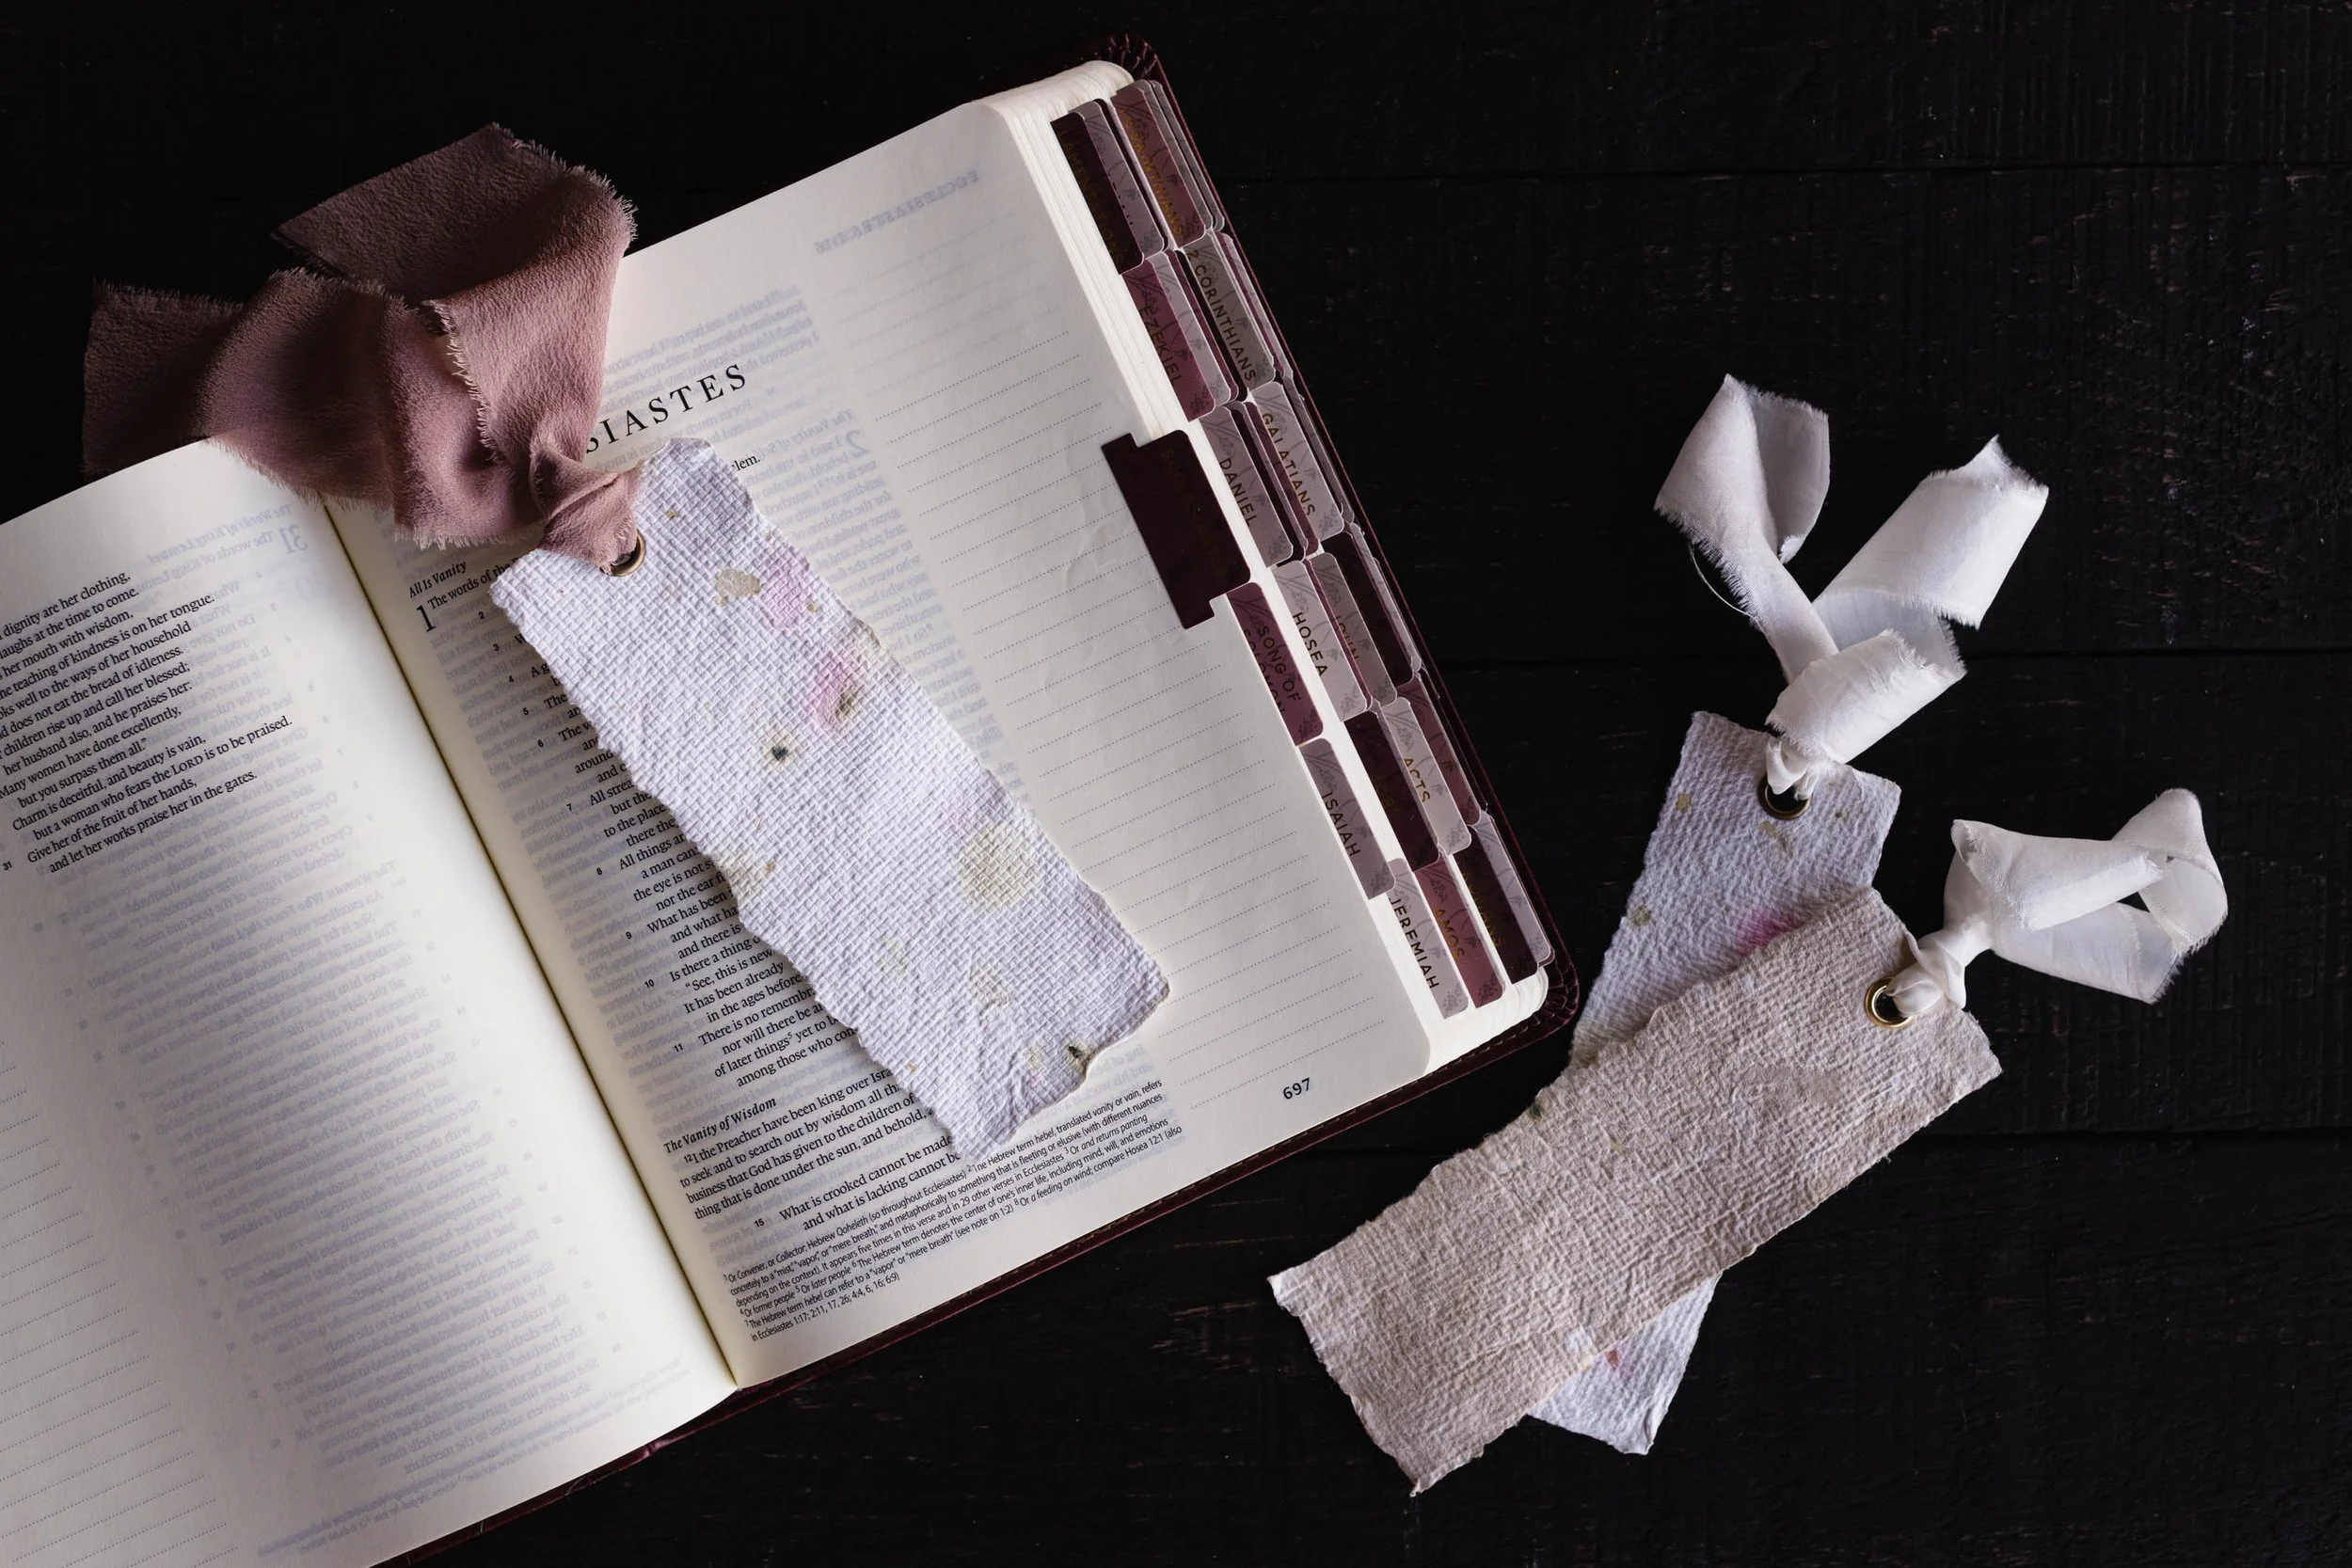
Handmade Paper
There’s something timeless and beautiful about handmade paper—the soft texture, natural fibers, and delicate imperfections make each piece unique.
In this guide, I’ll walk you through the simple yet rewarding process of making your own handmade paper, perfect for notes, cards, bookmarks, gift tags, place cards, journals, or scripture cards.
Follow these easy steps to get started!
Introduction
Please click through the image slideshow to see the progression.


Supplies Needed:
Two Wooden Frames (Same Size) – 4x6, 5x7, or 8x10 work well.
Piece of Screen – Large enough to wrap around the edges of one frame.
Deep Dish Casserole or Plastic Tub – Large enough for the frame to move freely.
Large Bowl – For soaking paper scraps.
Scissors – For cutting paper and screen.
Staple Gun – To secure the screen to the frame.
Blender (Regular or Immersion) – For making pulp.
Shredded or Cut Paper – Any color; avoid glossy or heavily inked paper.
Several Absorbent Towels – Some for blotting excess water, others with a smoother fabric for drying the handmade paper.
Large Glass or Plastic Cutting Board – Used for pressing paper flat.
Optional: Dried flower petals, seeds, or ground black pepper for decorative effects.
How to:
1. Prepare the Frame & Screen
Cut a piece of screen large enough to wrap around the edges of one frame.
Pull the screen tight over the back of the frame and secure it using a staple gun.
This screened frame and second frame will act as your paper mould.
2. Make the Paper Pulp
Shred or cut paper into small pieces and place them in a large bowl.
Cover with water and let soak for a few hours or overnight—this softens the fibers and makes blending easier.
Blend the soaked paper into a smooth pulp, adding extra water if needed.
Pour the pulp into a casserole dish or plastic tub, then add more water to create a thin, evenly mixed slurry.
3. Form the Paper Sheet
Place a folded absorbent towel (smoother fabric) near your pulp mix. Have another towel ready for blotting.
Lay an additional dry towel nearby—this will be where your finished paper dries.
Stack the second wooden frame on top of the screened frame (so the front sides face each other).
Holding the frames together, dip them into the pulp mixture, allowing the pulp to settle evenly over the screen.
Slowly lift the frames straight up, letting excess water drain off.
4. Transfer & Press the Paper
Remove the top frame carefully and let the water drip off the screened frame for a moment.
Flip the screen over onto the smooth towel.
Using another towel, gently press the back of the screen to absorb as much water as possible.
Carefully remove the frame and gently lift the newly formed paper onto a clean, dry towel.
5. Dry & Press the Paper
Repeat the process until you run out of pulp—if the sheets become too thin, the pulp mixture needs more fiber.
Place a cutting board over the damp paper to help press it flat.
Periodically remove the board to allow airflow and aid drying.
Drying time varies depending on humidity but usually takes a couple of days.
Extra Notes:
Adding Decorative Elements: Mix dried flower petals, seeds, or ground pepper into the pulp before forming sheets. Keep in mind some flowers may fade as they dry.
Experiment with Colors: Mixing different colored papers results in beautiful, natural shades. Printed paper can add speckles, though newsprint may create a muddy effect.
Avoid Wooden Boards for Pressing: The wood’s natural color may transfer onto your paper.
Towel Choice Matters: A smooth towel helps avoid unwanted imprints in the finished paper. Some texture occurs naturally, but heavily textured fabrics may leave an unintentional pattern.
Enjoy! ♡
Back to you
As always, thanks so much for stopping by.
Thoughts, questions, ideas— please share in the comments below.
I love knowing you were here.
with love,
Loralie

