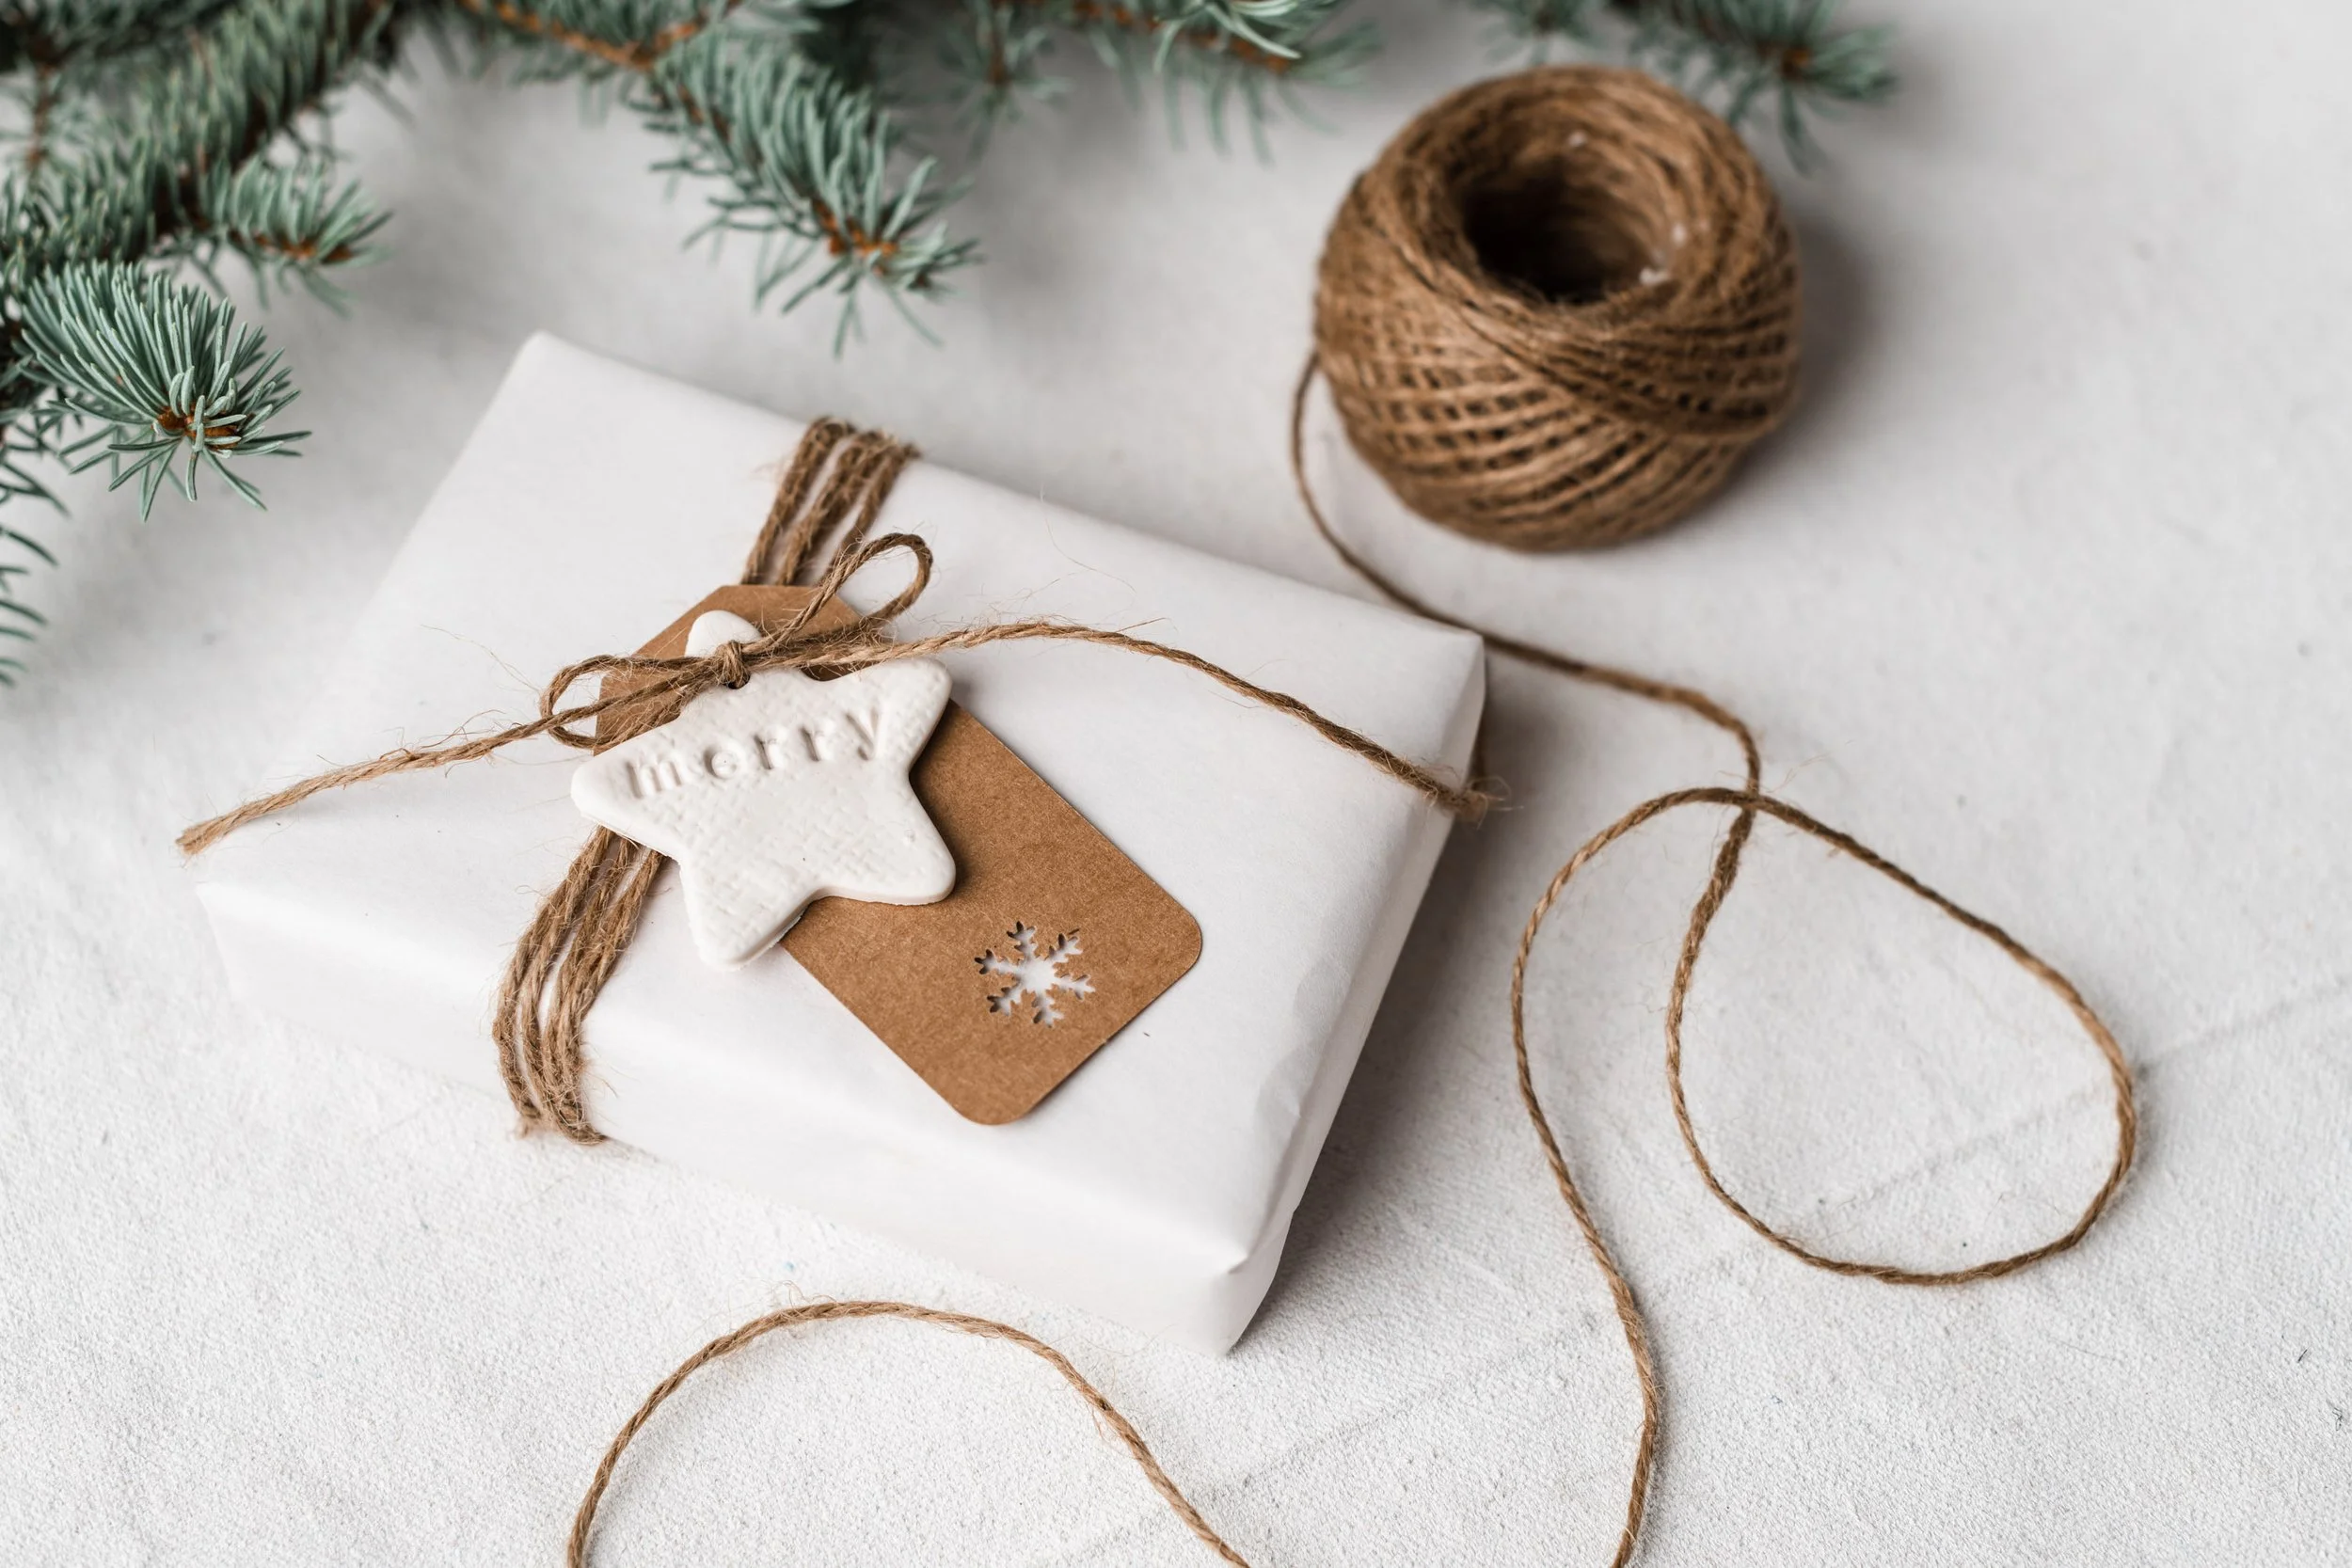
Handmade Clay Gift Tags
These delightful clay tags are simple and fun to create and add a personal touch to your gift giving.
Beyond gift tags, they make lovely ornaments, or a festive table settings. They are thoughtful and charming.
Follow these easy steps to get started!
Introduction
Please refer to the images for inspiration.
Supplies:
Ball of clay (oven-bake/polymer or air-dry)
Smooth hard working surface
Baking sheet (for oven-bake clay)
Rolling pin
Parchment paper
Thickness guides (e.g., wooden skewers)
Cookie cutters
Round toothpick
Letter stamps
Festive stamps
Cedar greenery
Jute String
Kraft gift tags
How To:
Roll Out Clay
Roll out the clay to about 1/8” thick.
Use thickness guides, like wooden skewers to ensure even thickness.
Cut Shapes
Use cookie cutters to cut out your desired tag shapes.
Create String Holes
With a toothpick, make a small hole at the top of each tag for threading.
Decorate Tags
Personalize your tags with words by pressing letter stamps gently into the clay.
Add texture by pressing cedar greenery or other textured items onto the surface.
Bake (For Oven-Bake/Polymer Clay)
Transfer the tags onto a parchment-lined baking sheet.
Bake in a preheated oven at 250°F for 20–30 minutes. Refer to clay package instructions.
Remove from the oven and let tags cool completely.
Dry (For Air-Dry Clay)
Follow the preparation steps above then allow tags to air dry for 24 hours.
String and Embellish
Thread string through the hole in each tag.
Pair clay tags with kraft gift tags for a layered look.
Add wooden beads for extra embellishment, if desired.
Extra Notes:
You may decide to stamp the rolled-out clay with texture prior to cutting your shapes to avoid altering the shape with extra pressure.
Experiment with different textures and stamps for unique designs.
Air dry clay is a bit stickier that the oven-baked clay (polymer clay). It is helpful to have a finger bowl of water to dip your finger in to smooth the edges of your creations while they are still soft. Alternatively, you can file the edges sooth with a nail file after they dry.
The clay in non-edible, be sure to wash all supplies thoroughly with hot soapy water after creating.
Enjoy! ♡
Back to you
As always, thanks so much for stopping by.
Thoughts, questions, ideas— please share in the comments below.
I love knowing you were here.
with love,
Loralie


